I recently posted pictures of this cookie cake to my instagram as part of Derick’s birthday celebrations (he usually prefers cookies or brownies over cake) and so many of y’all requested the recipe! The fact is, it’s not just the ingredients that makes this cookie cake turn out great, it’s the chilling & baking steps that ensure this easy cookie cake recipe is delicious and….well, a piece of cake…or should I say, a piece of cookie! 😉
Makes 1 small cookie sheet pan cake (10.2in. x 14.0in. pan)
Cookie ingredients:
2 large eggs
1 C. butter, softened
1 tsp. pure vanilla extract
3/4 C. white sugar
3/4 C. brown sugar, packed
2 1/4 C. all-purpose flour
1 tsp. baking soda
1 tsp. salt
1 (12oz.) pkg. semi-sweet mini chocolate chips (the mini chips make this recipe THE BEST, but I have also used m&m’s in the past…when we lived in Central America for a couple years and had a hard time keeping chocolate from melting in the humid heat!)
Topping ingredients:
1 (16oz.) tub vanilla icing
gel food coloring (regular food coloring will work, but gel hold is color better when mixed with icing without changing the consistency of the icing)
sprinkles
plastic sandwich bags (1 bag for each icing color), or a piping set
toothpicks (for touching up icing, &/or correcting icing errors)
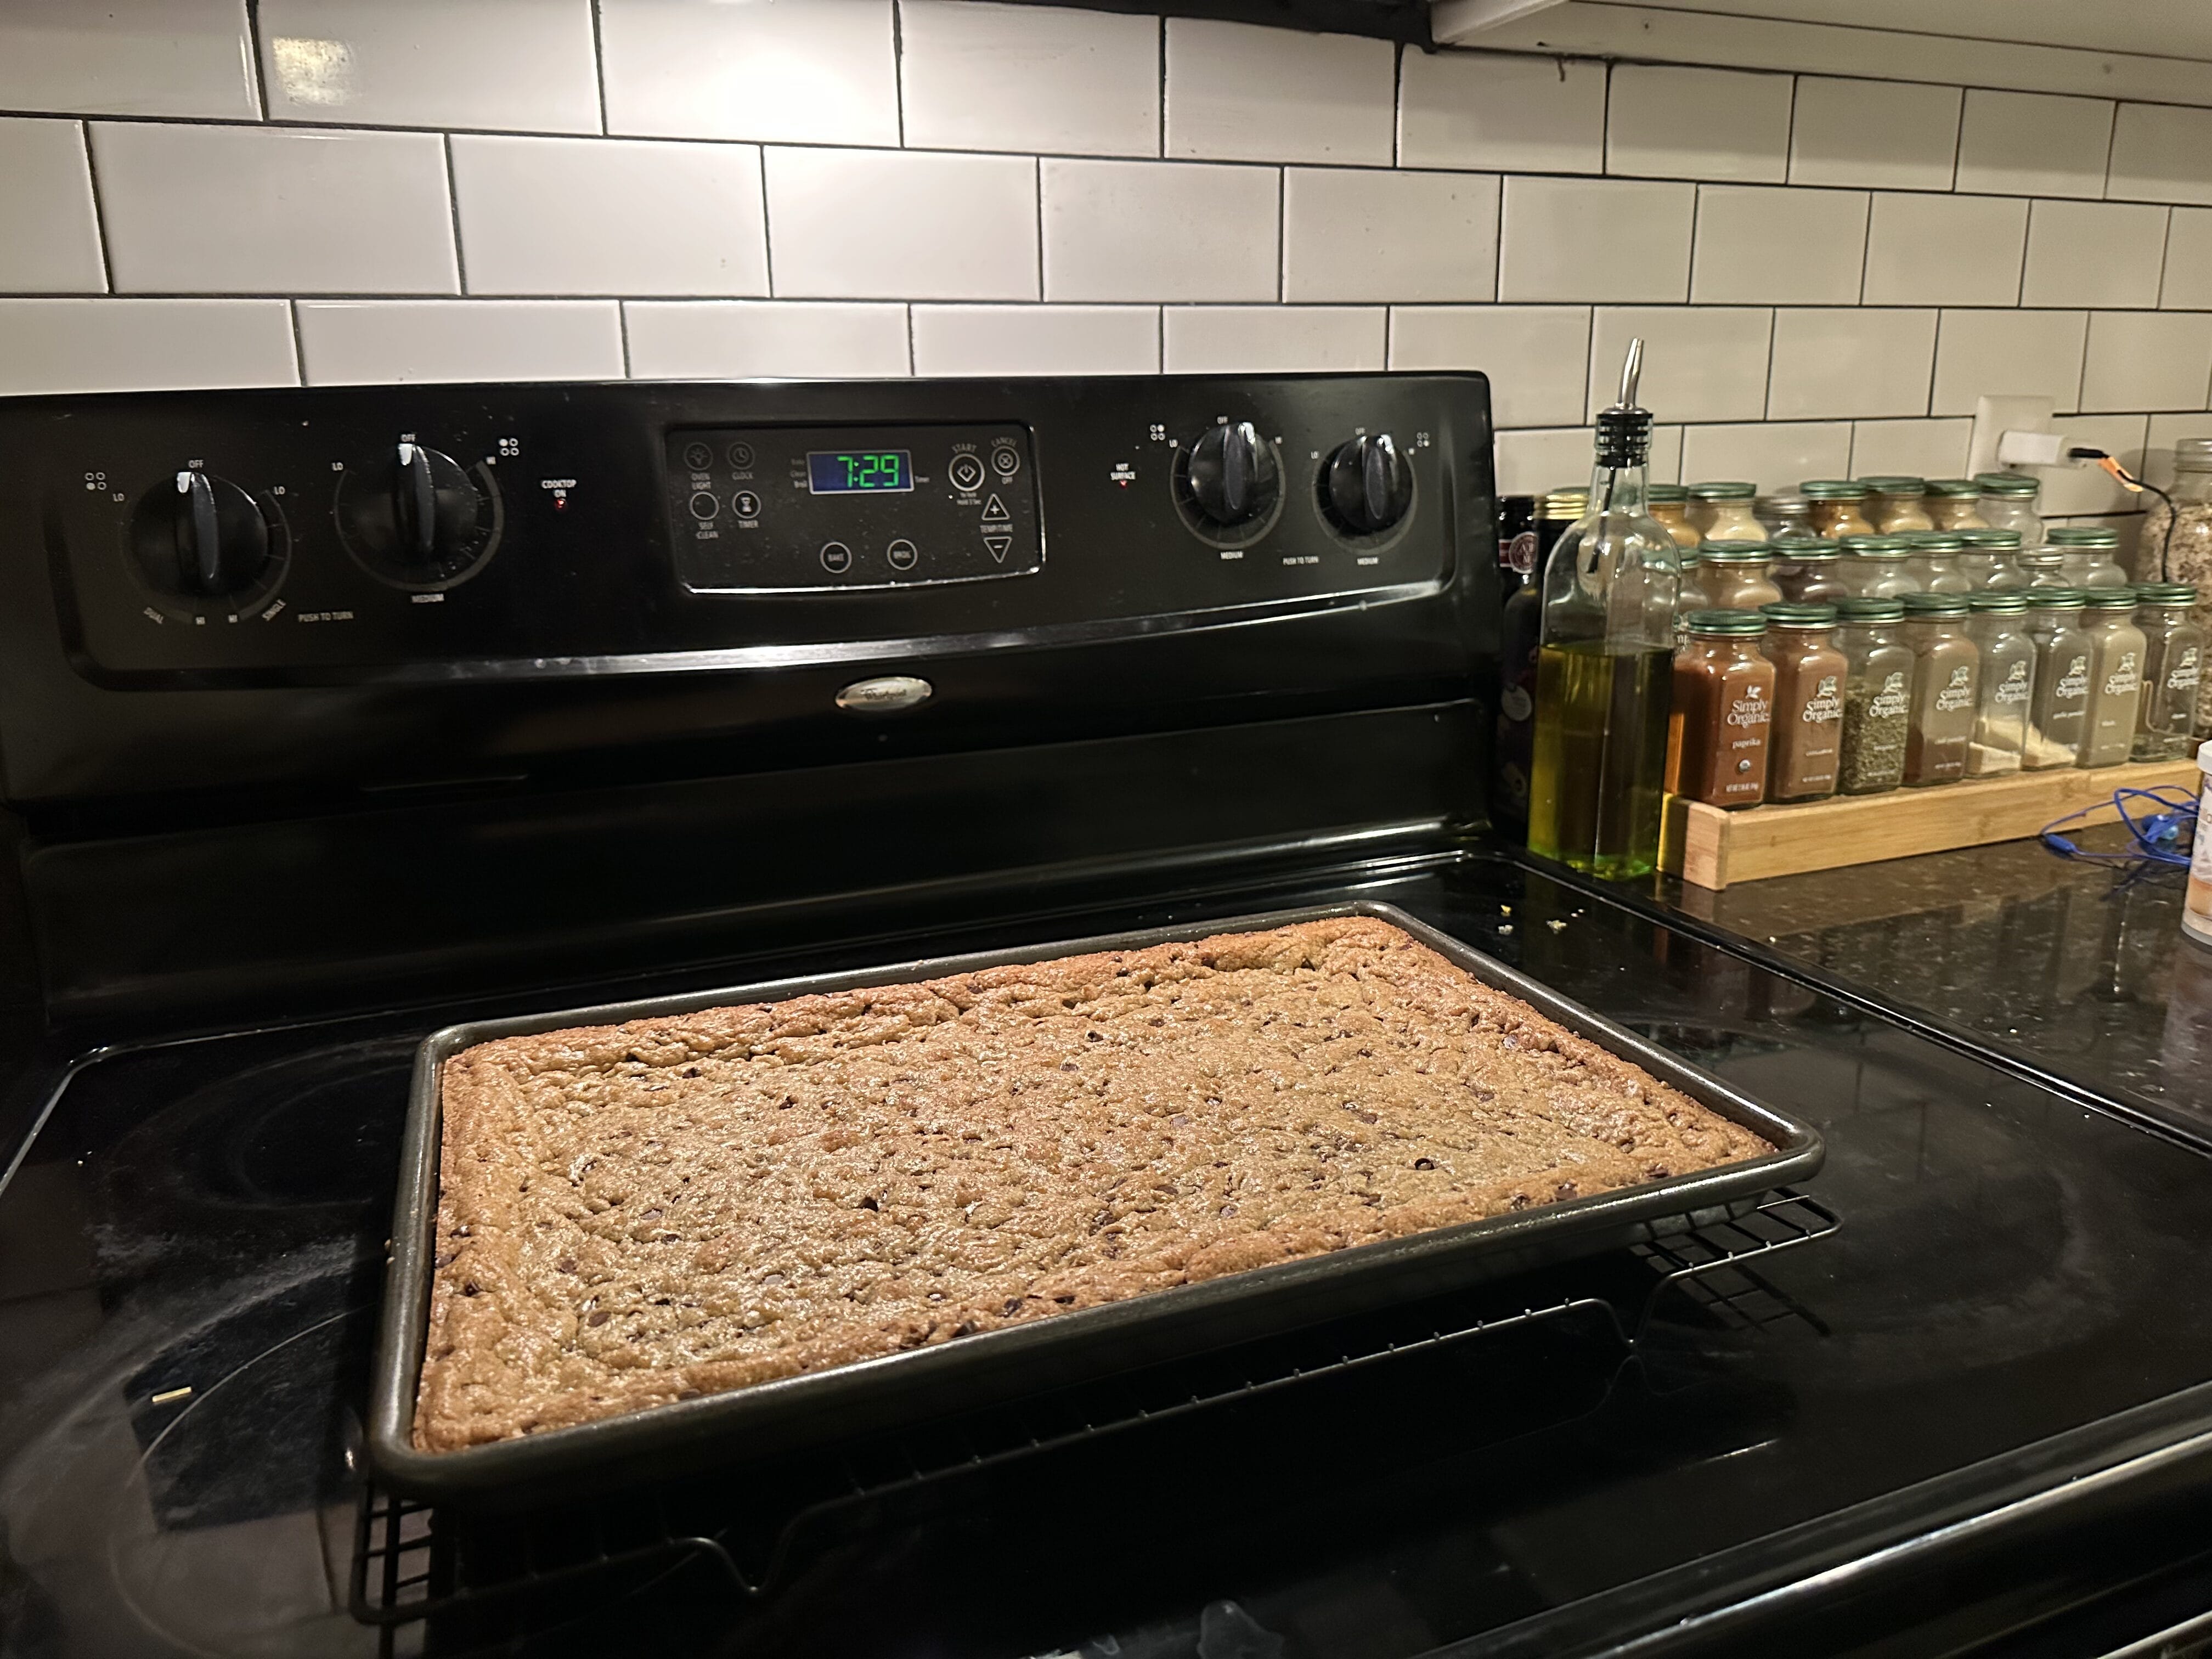
Cookie Directions: Preheat oven to 375 degrees. Beat eggs, then add in softened butter, vanilla and both sugars to bowl and mix well. Then add flour, baking soda and salt to bowl and mix well. Cool dough in fridge (about 10-15 minutes, or until it firms up a bit.) Finally, gently stir or mix in mini chocolate chips. Spray baking sheet with non-stick spray, then evenly spread cookie dough across entire pan (kind of smoosh it into the corners and all around). Chill dough again in fridge (in the pan this time) for 10-15 minutes, so everything is the same temp.
*Bake at 375 degrees for 8-12 minutes, or until cookie starts to slightly brown, but is still a little glossy in the middle (the glossy look is likely just the melted butter…it will all continue to cook for a bit after you pull it out of the oven). Do not over-bake!! Once baked, place cookie cake (keep in the pan) on a cooling rack to let it continue setting up. No judgement from me if you decide to stop here eat the cake without decorating it! But, if you deicide to ice the cookie, just be sure to let it cool completely before decorating! (I prefer to bake the cookie one day before I decorate it.)
*Tip: If you don’t have a convection oven, (convection ovens distribute the heat better), then you might need to place a large baking sheet in the oven below the middle rack where you will bake the cookie to help it bake more evenly. Just pay attention to where the heat is coming from (for most ovens, the heat comes from the bottom, unless broiling).
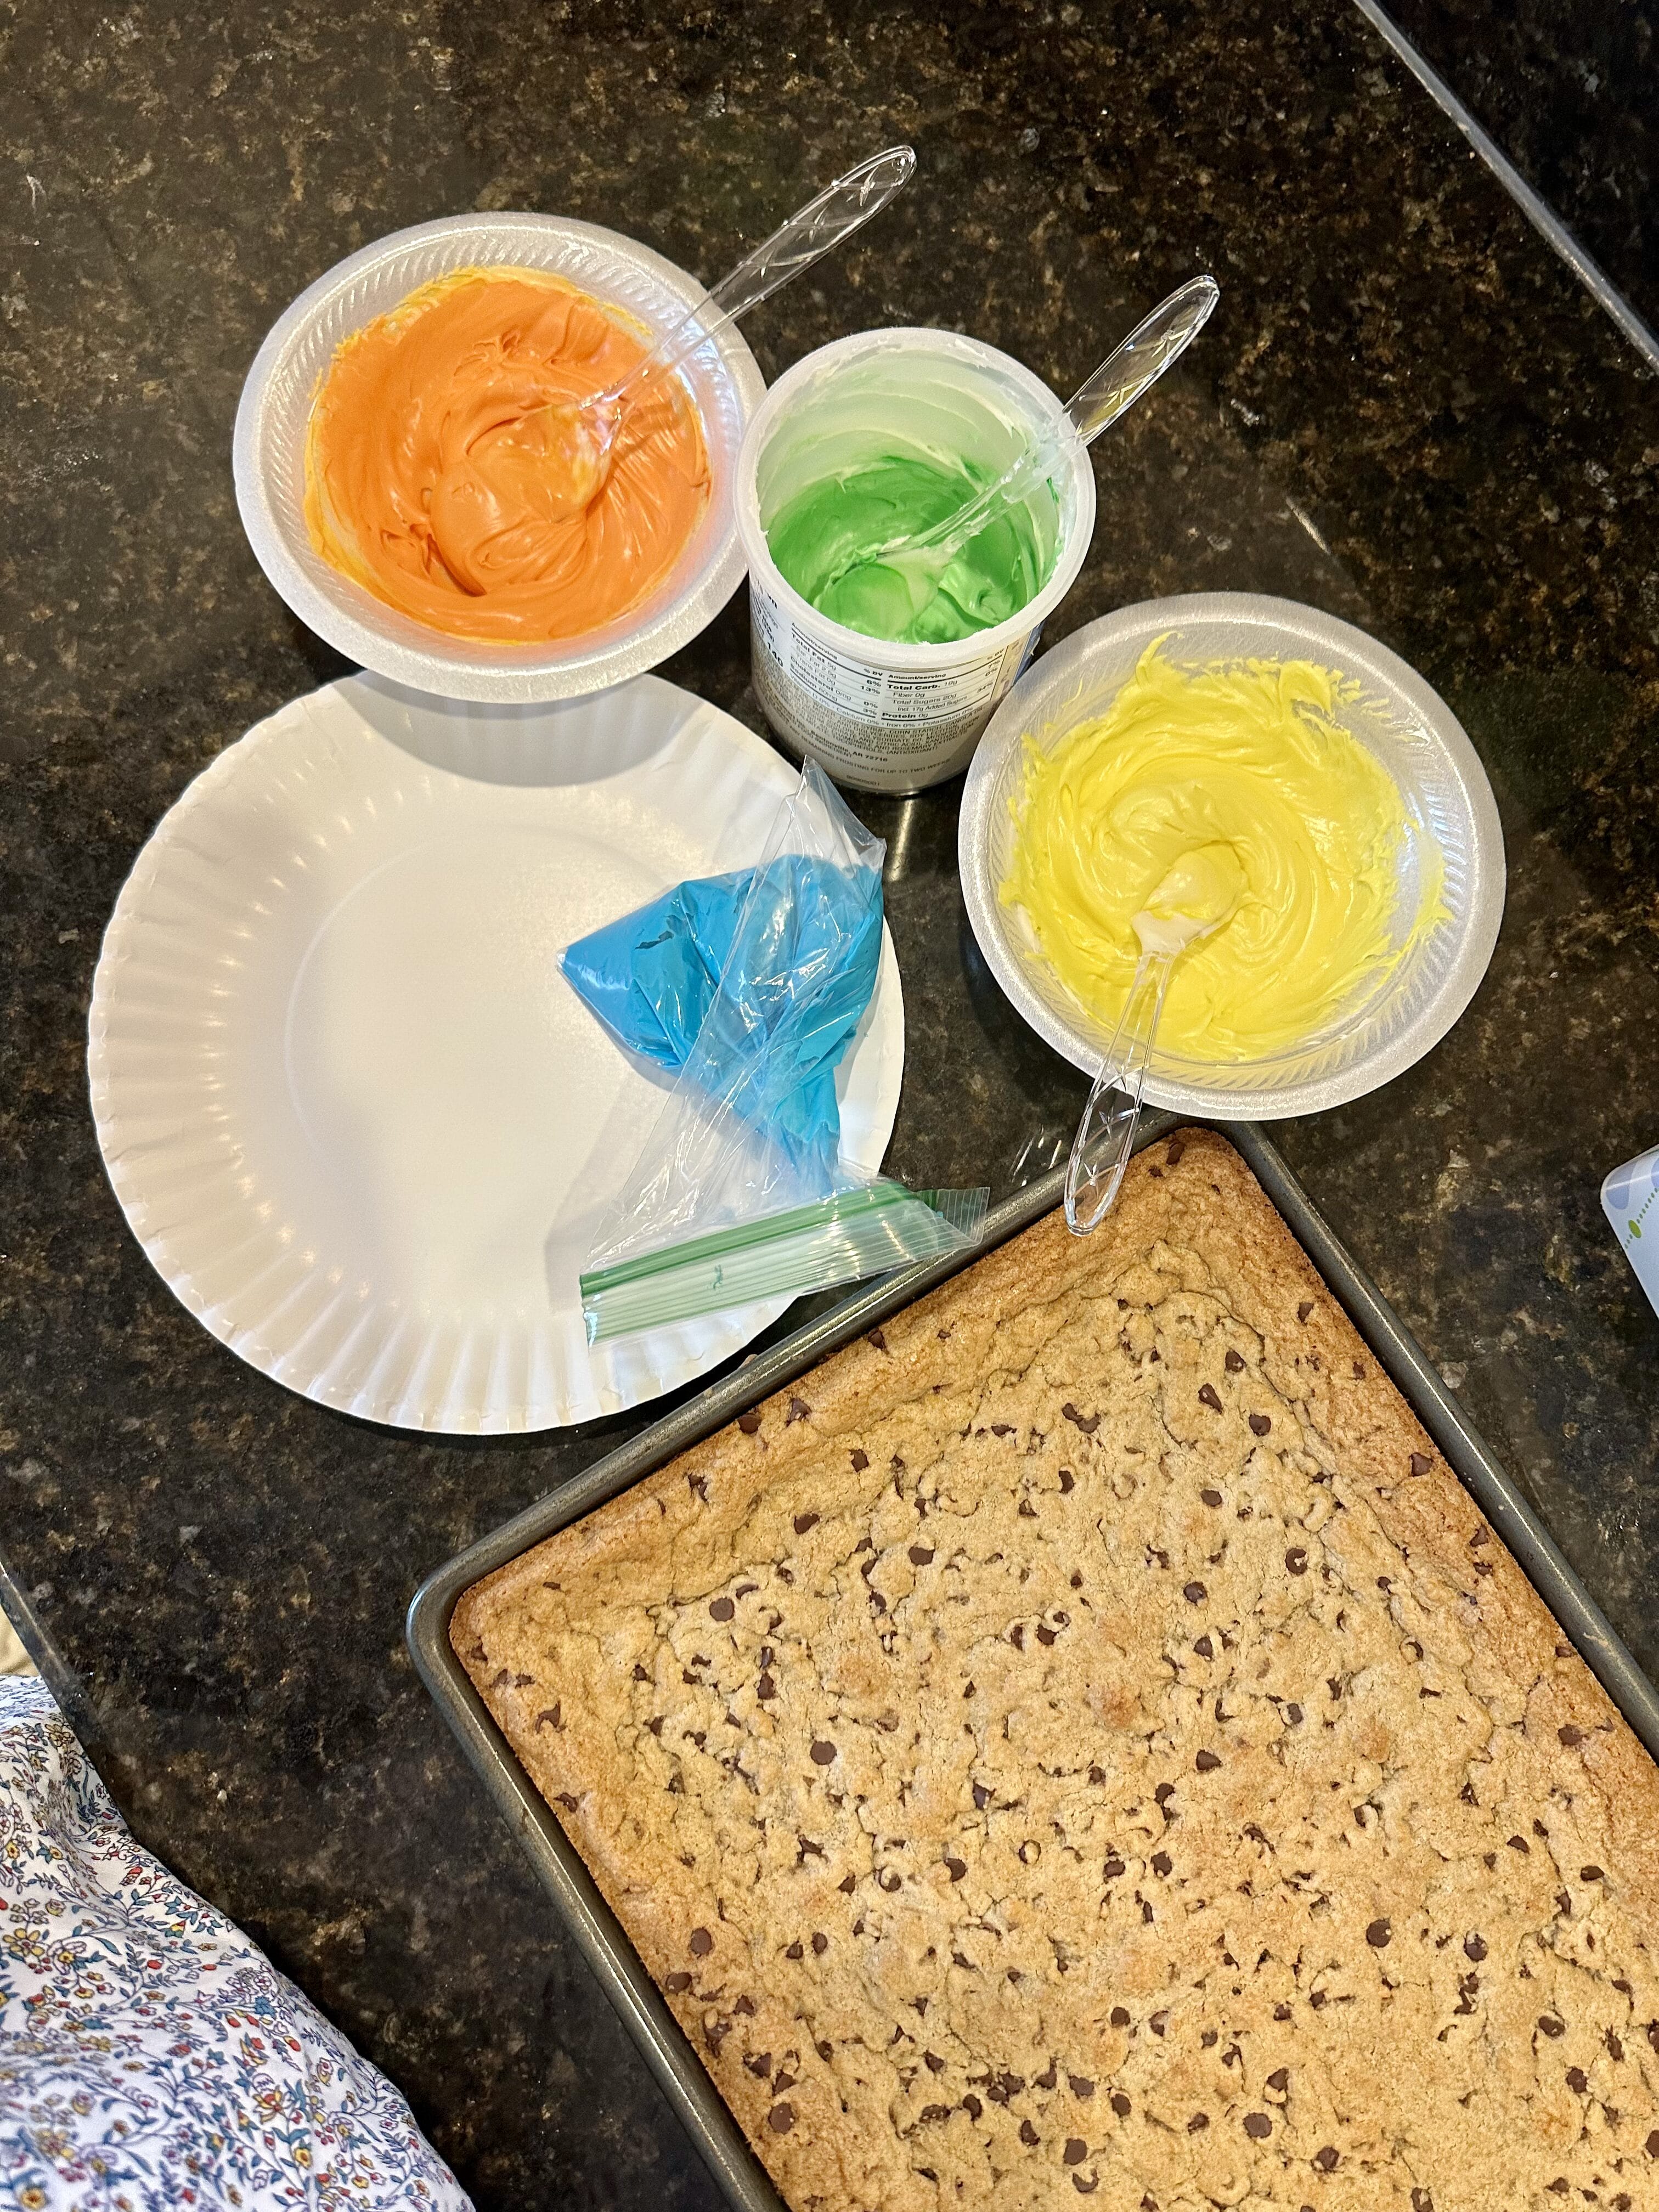
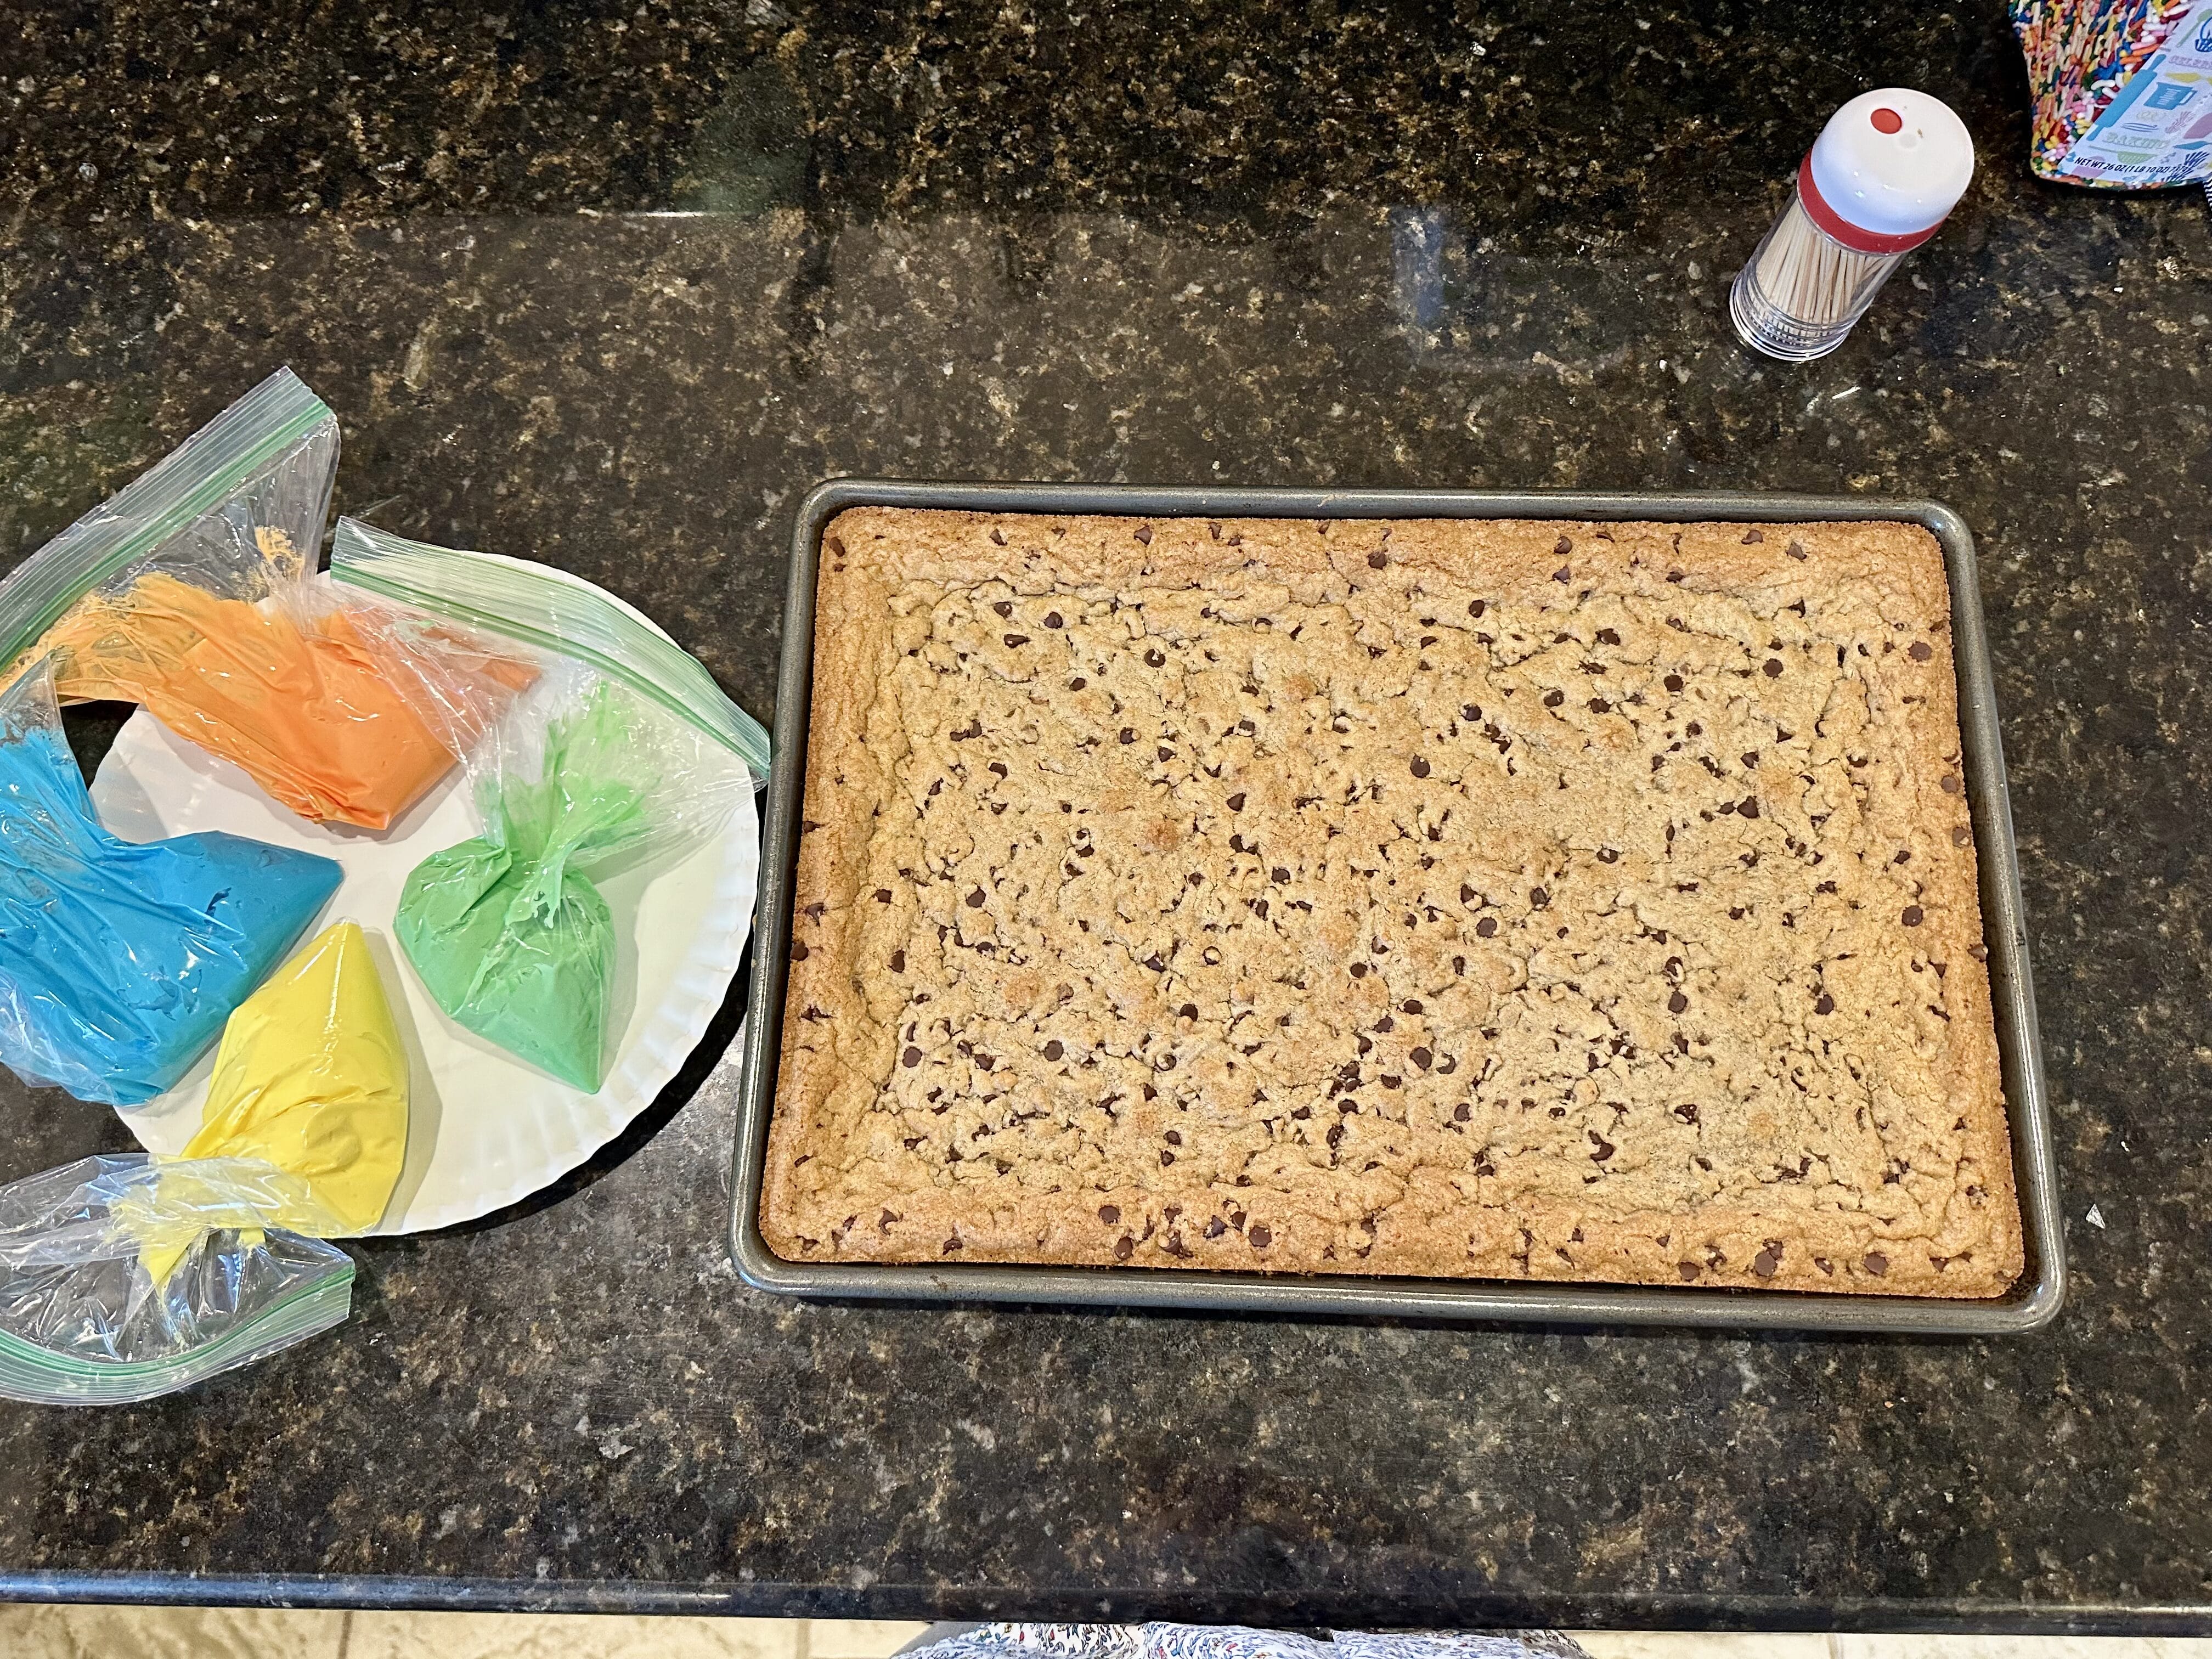
Icing Directions:
Cut a tiny tip off one corner of each of the plastic sandwich bags. In multiple bowls (one for each color) mix the appropriate amounts of gel food coloring with icing until desired colors are reached. Add a portion of colored icing to the plastic bag and gently squeeze the bag to allow icing to come out of open corner (partially seal top of bag and twist the middle to prevent icing from escaping from the top). Test decorating with icing on a plate and then decorate the cookie with icing to your heart’s content! Fix any errors using a toothpick. Add your favorite sprinkles & enjoy!


Please note that any family photos on this site are copyrighted and may not be used without the express written permission of the copyright holder.


